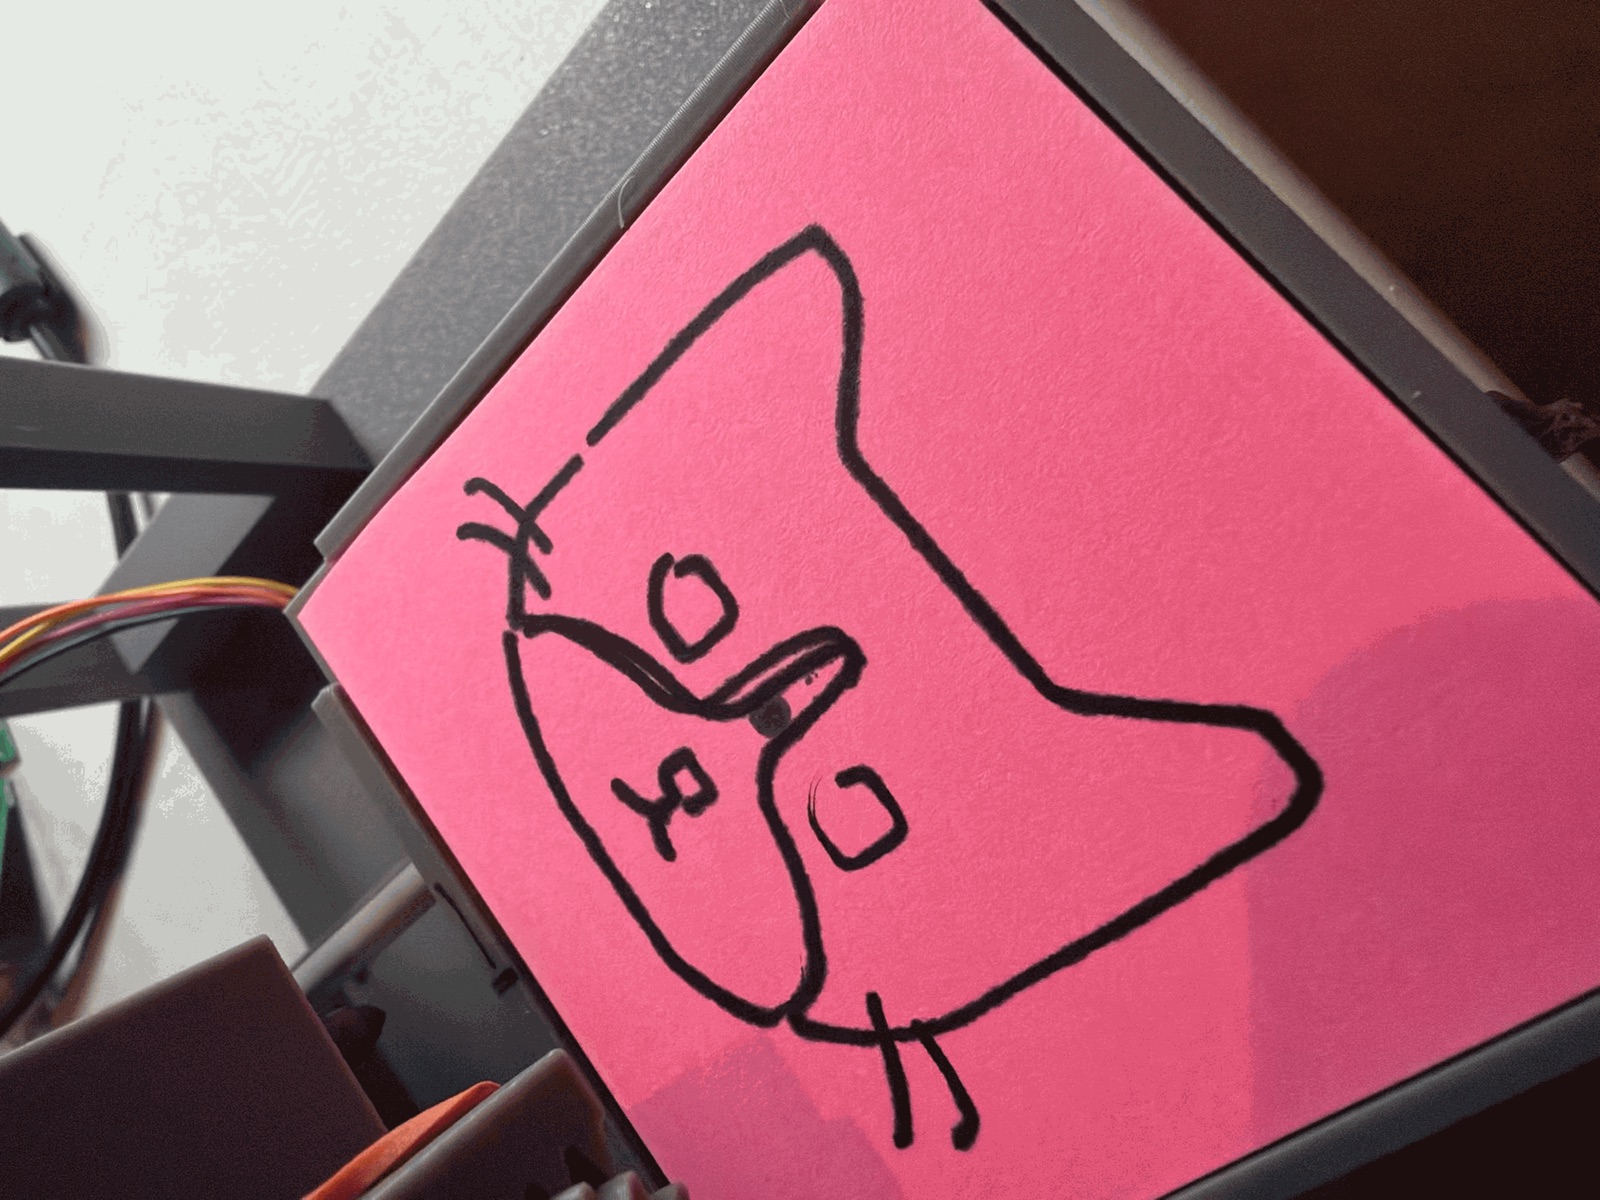
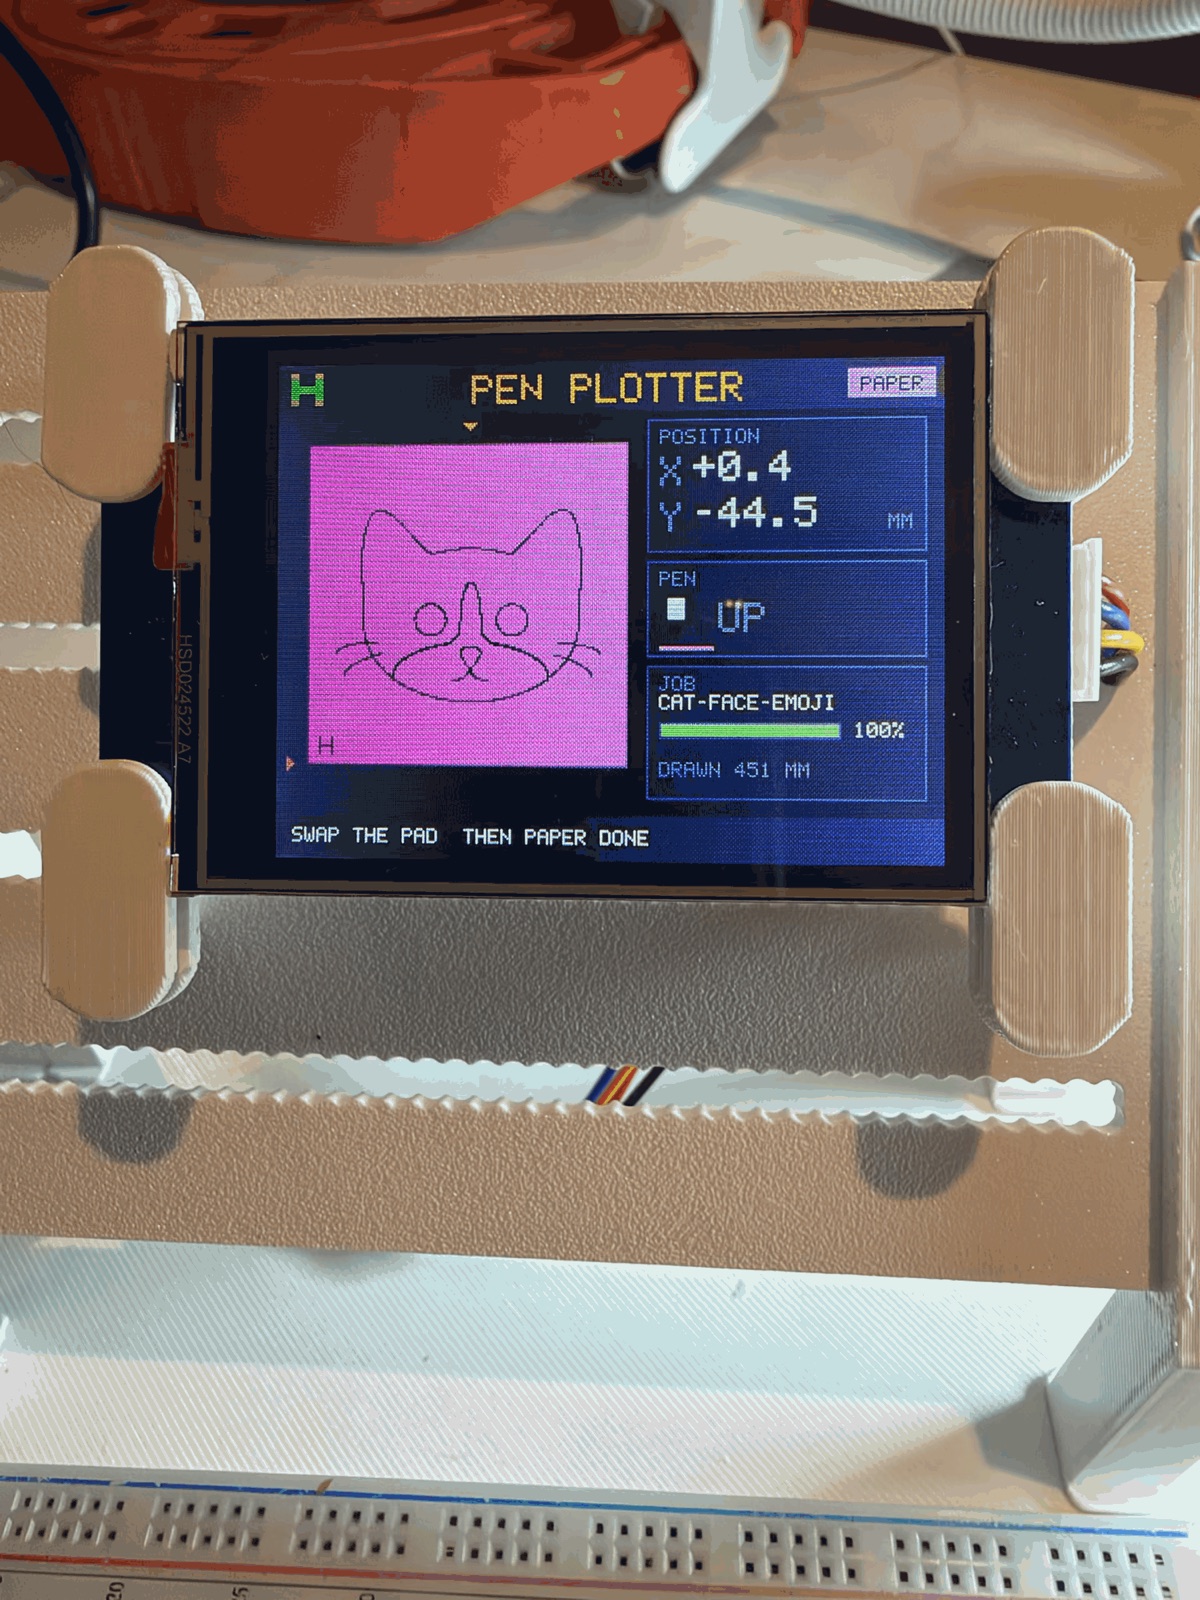
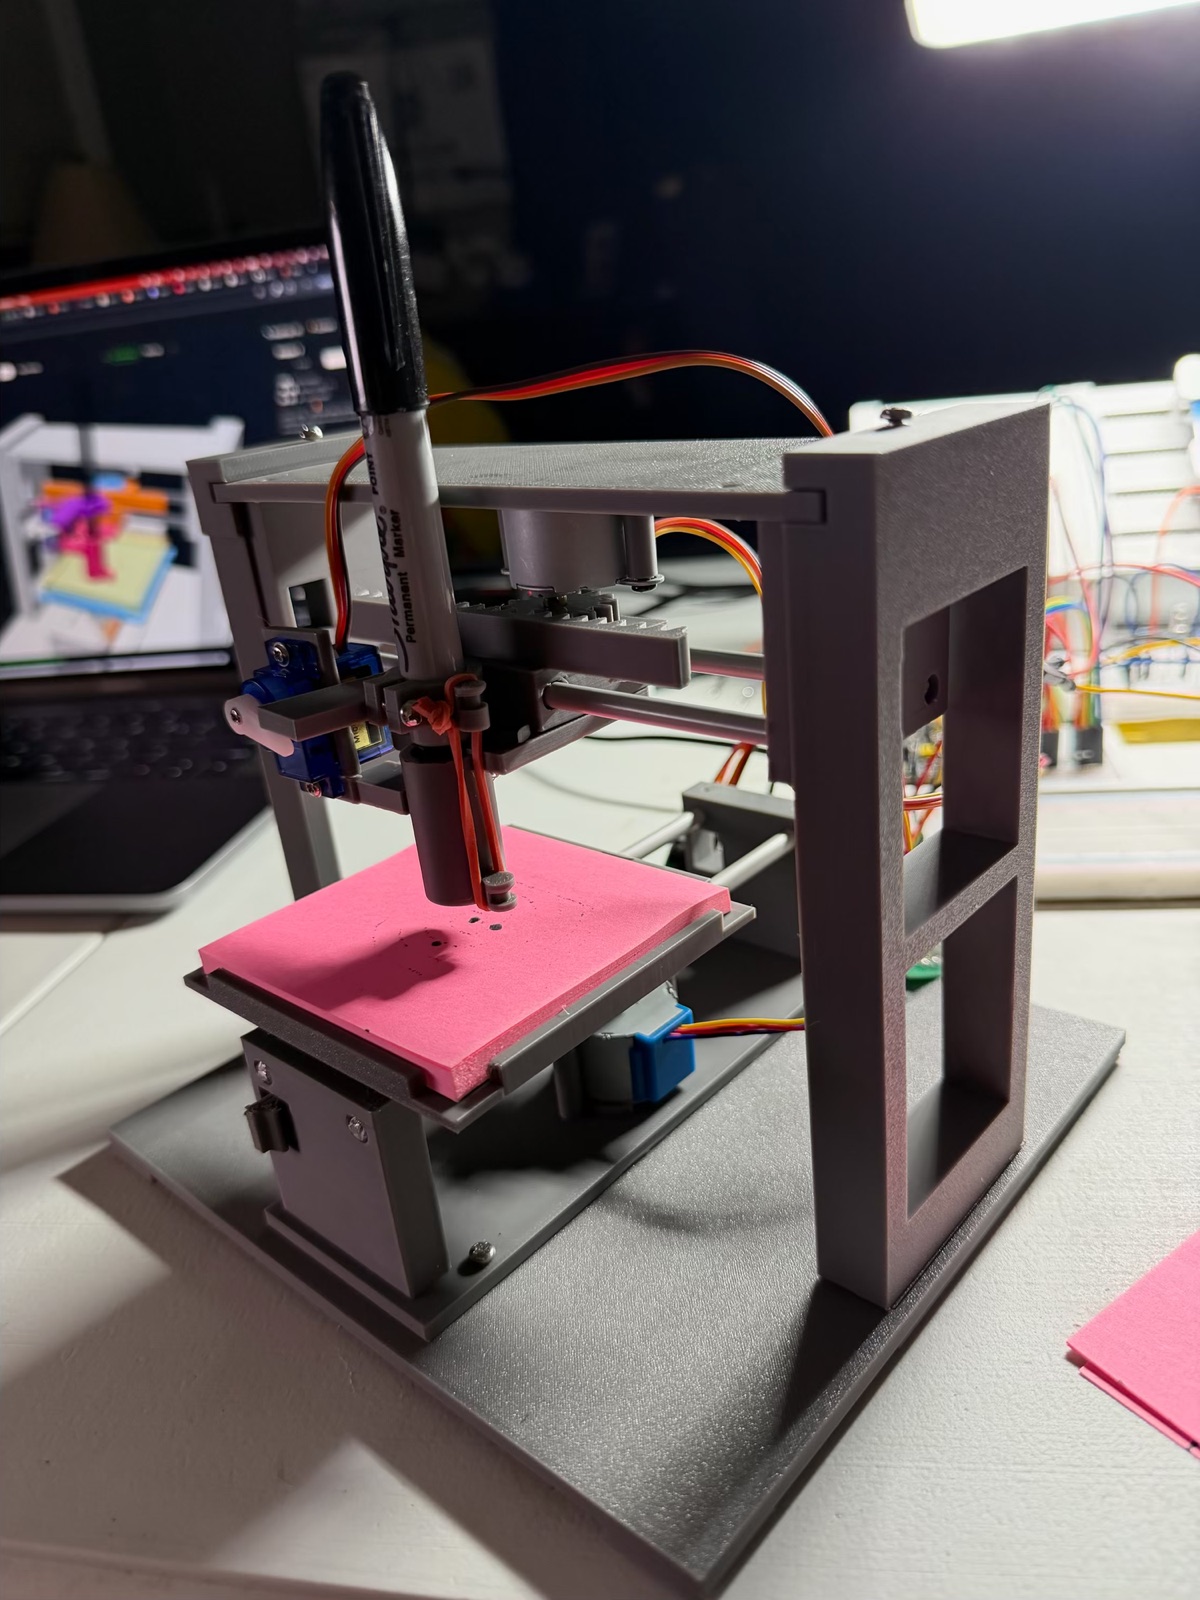
Result. The pen plotter is working extremely well. It took three pen-lift designs to get there. The one that works lifts the pen with a rack and pinion like the X and Y axes, and lets the pen rest on the paper by its own weight. The plotter also got its own panel in Bench, a Change paper button, and a redesigned Nextion screen with the Hypnochip H.
Three pen lifts
| Design | How it worked | What went wrong |
|---|---|---|
| 1. Collar and horn | A collar clamped on the pen, lifted by a tab the servo horn pushed; a rubber band pulled it down | The horn pushed 15 mm to the side of the pen, so the collar twisted and the pen spun in its tube |
| 2. Sled on a dovetail | The pen clamped in a sled sliding on a dovetail, the band pulling it down | Still stuck and unreliable: lifted 25 mm in front of the rail and pulled 27 mm beside it, a short slider racks like a drawer |
| 3. Geared lift | A pinion on the servo drives a rack on the sled; the sled's top lifts the pen by its shoulder (where the 10.6 mm front steps up to the 11.98 mm body); pen down, the pen just rests on the paper | Works |
Why the third one works:
- The gear drives the sled both ways, so nothing depends on a band's pull or a slider's friction.
- The pen isn't clamped. It slides freely in two guide rings and rests on the paper under its own weight (about 10 g), so it follows the pad down as the sheets get used.
- The lift pushes all round the pen (on its shoulder), so nothing twists.
Numbers
| What | Value |
|---|---|
| Sled travel, pen down → up | 15 mm |
| Pinion | 22 teeth, module 1.25, Ø27.5 pitch: 62° of servo turn for 15 mm |
| Pen up | 5 mm above a full pad, at any pad level |
| Servo horn | arm trimmed to 11 mm; 1st hole 3.73 mm, 2nd hole 4.94 mm from the centre (one M2 self-tapper through the 2nd) |
| Pen pulses (saved on the board) | up 1010 µs, down 910 µs |
| Change paper | 250 µs past up: about 5.4 mm higher, the rack's last tooth still in mesh |
Mistakes along the way (each one caught and fixed)
- The rack printed as a separate piece. A code comment had swallowed the arm joining it to the sled. The model checks now confirm every part is one piece.
- The dovetail was flimsy (a 4 mm tongue on a thin bar), so it became a 9.6 mm dovetail on a solid sled.
- The servo's cable notch went on the wrong end. The SG90's cable leaves the end next to the shaft, so the notch belongs at the top.
- Cutting the notch opened the servo's screw holes. Both holes are now checked to have plastic all the way round.
A better panel and a better screen
- Plotter panel in Bench: live x / y in mm, arrows that move the pen 0.1 / 1 / 10 mm, Home and Zero, pen up/down with calibration folded away, the test drawings and a speed setting, Change paper → Paper done, and Stop. The stepper-test controls that did nothing on the plotter are gone.
- The Nextion screen, before and after:
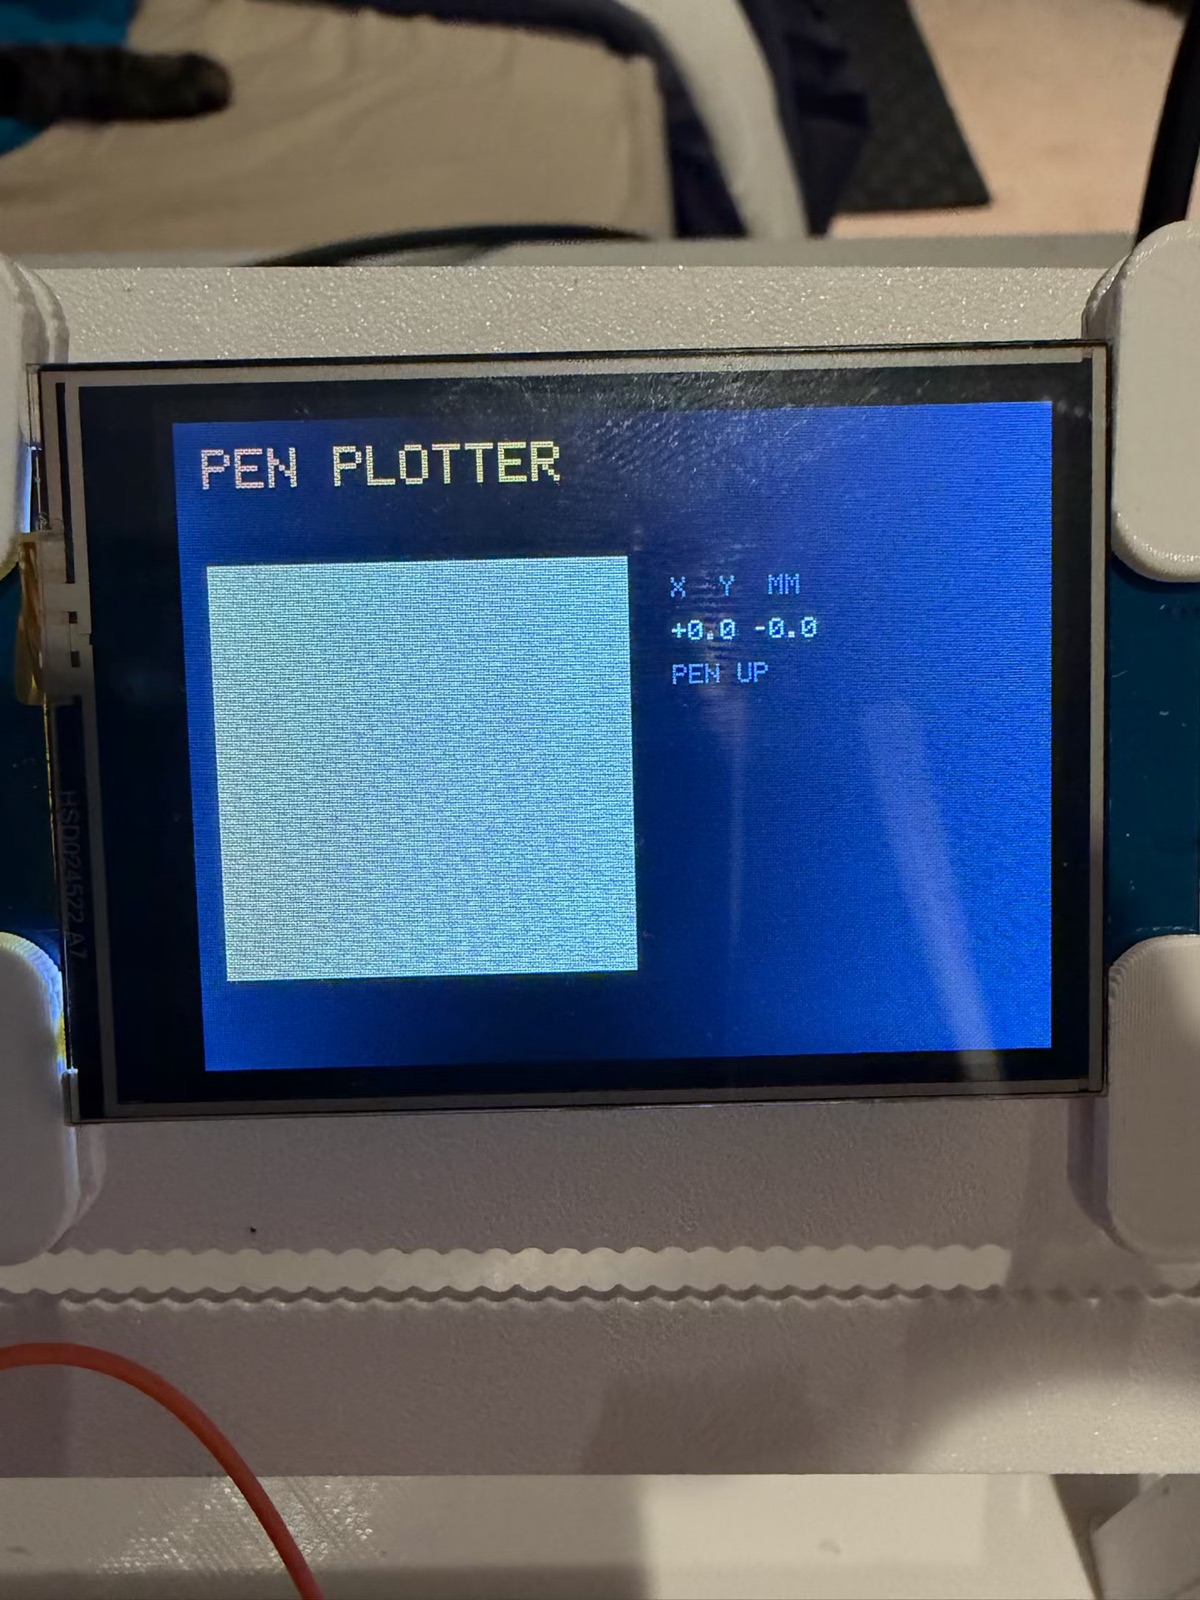
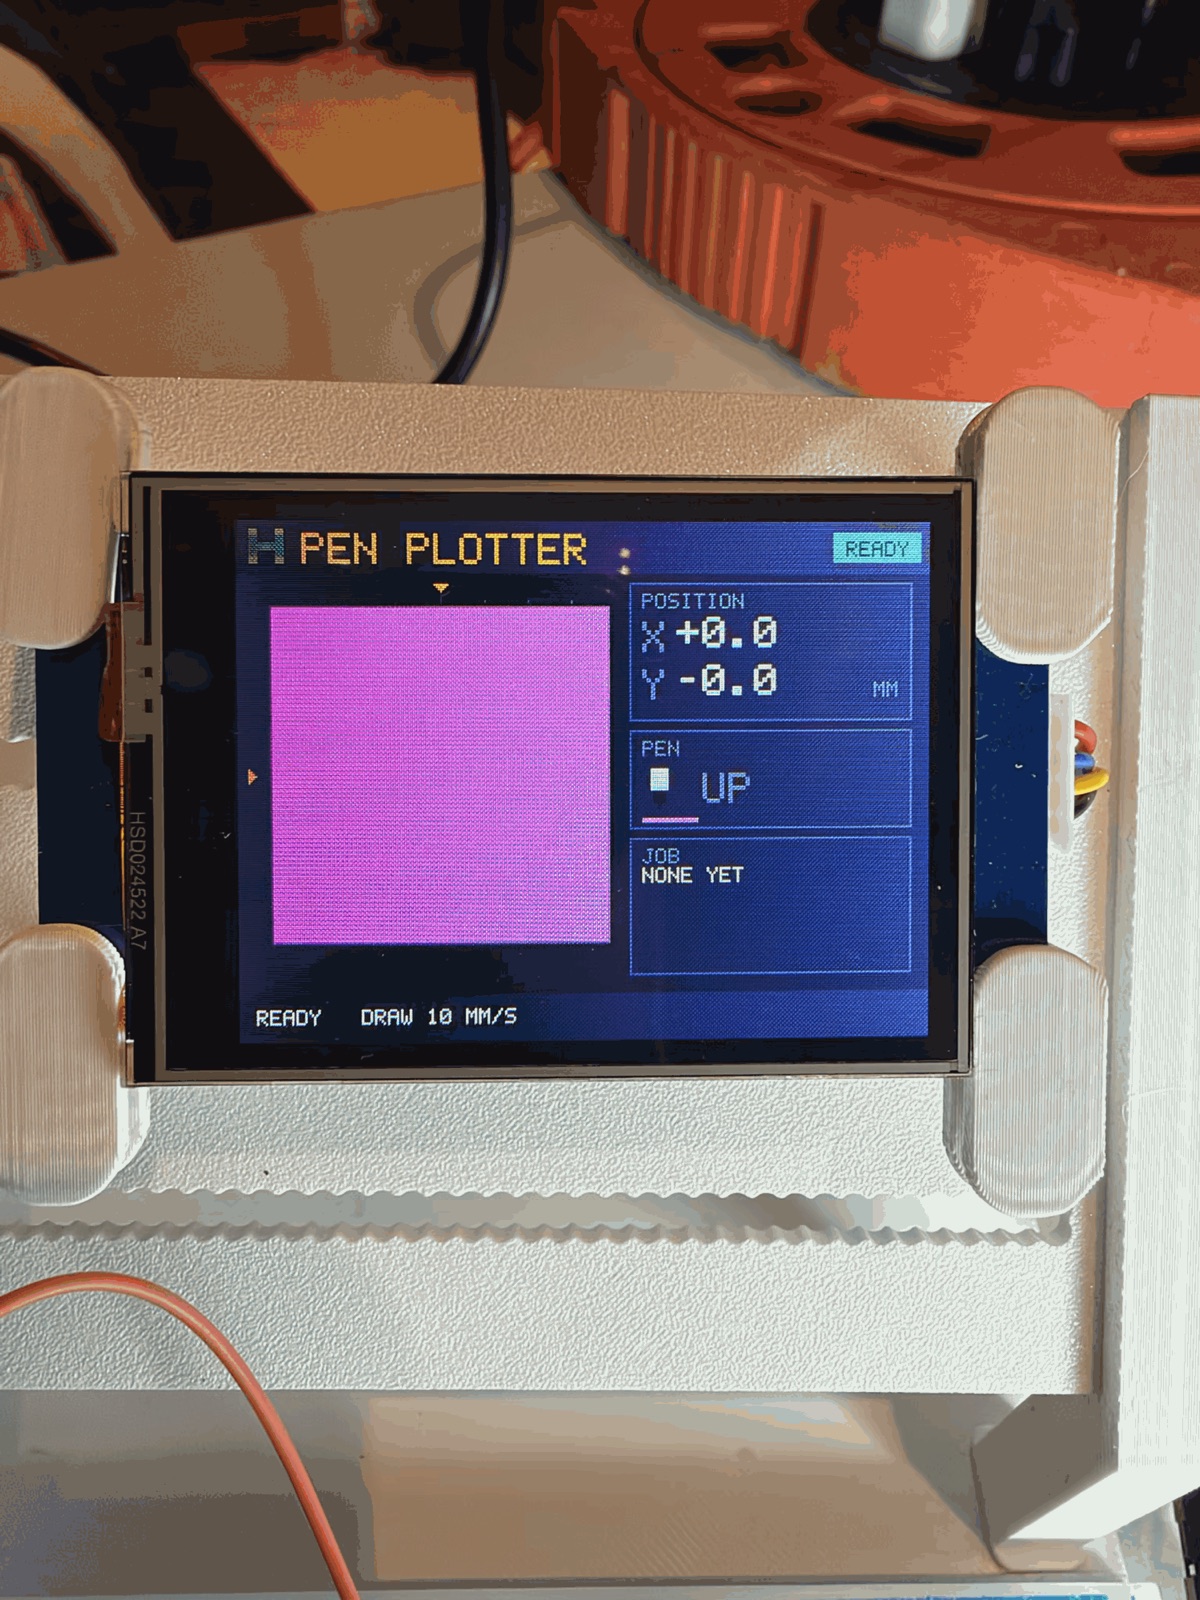
The new screen has the Hypnochip H in the corner and a state badge (READY, DRAWING, PAPER, PARKED, STOPPED). The pad has markers on its edges that follow the pen without touching the drawing. Boxes show where the pen is, a little pixel Sharpie up or down, and the job with a progress bar and the mm drawn. My display adds a strong blue cast: near-black shows navy, green shows cyan and pink shows magenta. So the greens are now warm and yellow-leaning, and the "−0.0" readout is fixed.
Core Alpha: a standard base
To stop rebuilding the same electronics for every machine, I started Core Alpha, a standard 180 × 165 mm plinth with an M3 grid on top that machine "heads" bolt to.
- Inside: one 800-hole breadboard with the MB102 and ESP32, the PCA9685, and four ULN2003 bays.
- Plug and play: each stepper plugs straight into its driver's socket through a window in the back wall.
- One display, shared: I only have one Nextion, so there's a Display port with a cable to the one on my bench.
Measured for it:
| Part | Measured |
|---|---|
| 800 breadboard | 165 × 55 × 10 mm |
| MB102 | 52.25 × 33 × 16.48 mm; one rail section in, it sits almost flush with the board's end (at the last section it hangs 14.77 mm over, too long for the box) |
| ESP32 DevKit | 51.48 × 28.35 mm, top 13.21 mm above the board, USB 4.19 mm above the board |
| PCA9685 holes | 54.95 × 17.53 mm |
| ULN2003 holes | 28.26 × 25.58 mm |
What I learned
- Drive both ways, or float. A band pulling against a servo, plus friction in a short slider, was never going to be repeatable. Gearing the lift and letting gravity hold the pen down removed both problems.
- Use what the part gives you. The Sharpie's own step between the black and white sections is the perfect lifting ledge.
- Push near the guide. A force far to the side of a slider makes it rack and bind. Lift close to the rail, and make the slider long.
- Check the model for more than collisions: that each part is one piece, that walls are thick enough, that screw holes stay closed, and that the pen can reach the whole page.
- Calibrate the screen to the screen. Colours that look right on the Mac look different on my display, so pick them on the real hardware.
Comments (0)