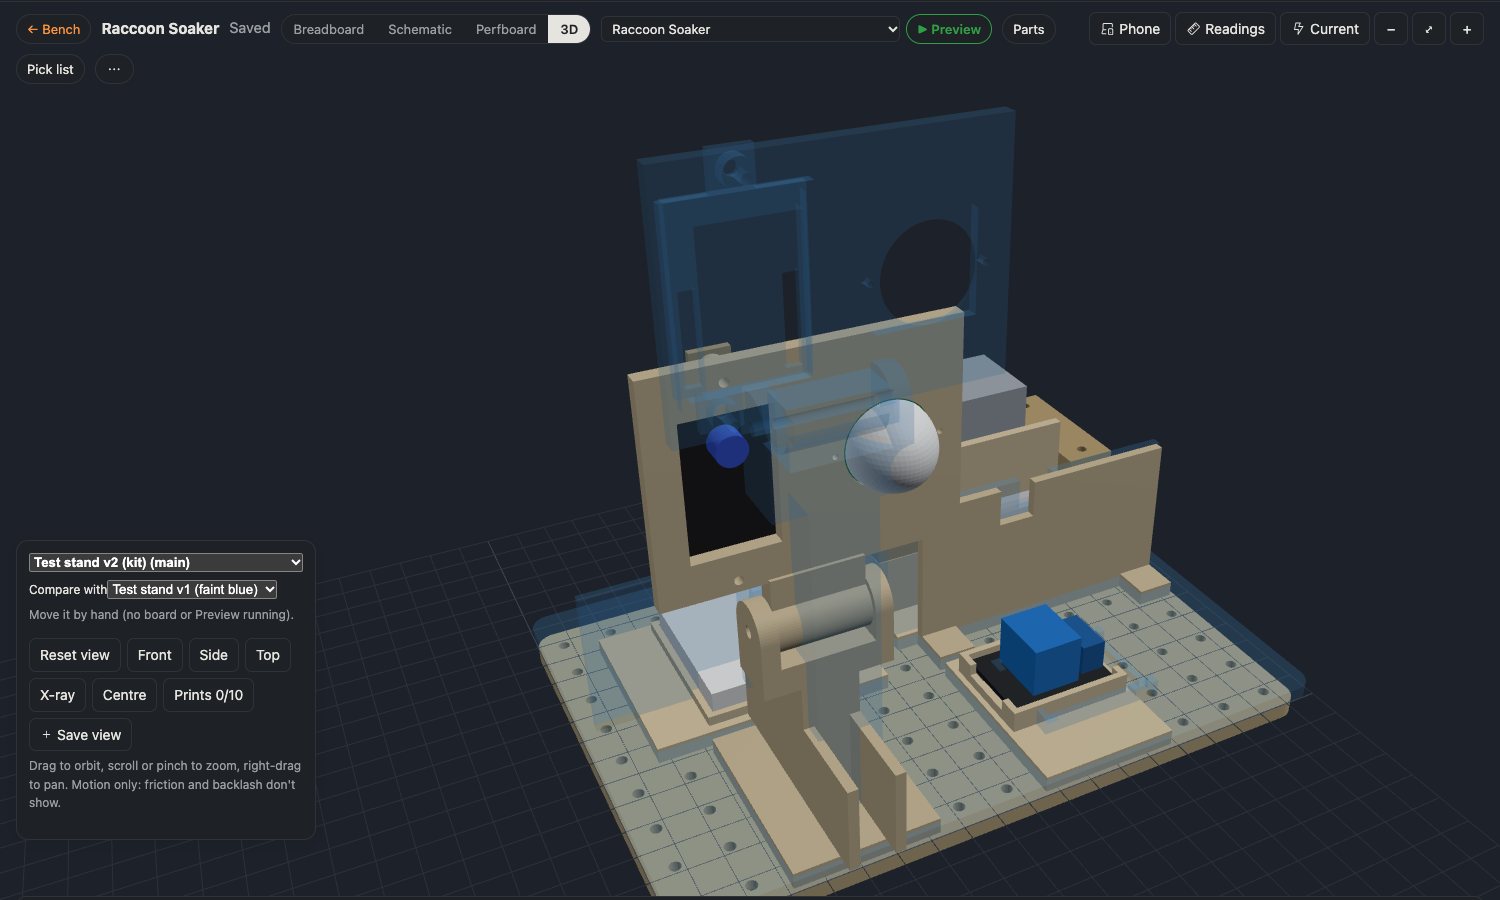
Result. A project in Bench can now have several 3D models: the Raccoon Soaker has two test stands and a first draft of its outdoor enclosure, side by side. Bench can lay an old version over the new one as a faint ghost, list exactly what to print, and remember camera angles. Adding parts moved out of a side panel into a quick search. It all came from printing my first test stand and finding four things wrong with it.
What printing v1 taught me
The first test stand for the Raccoon Soaker came off the printer with four problems:
- The relay's pocket was 1 mm too short, with nothing to hold the board down.
- It was tall, and the camera head jammed pointing down. Its plate sat 6 mm above the hinge, right inside the swing of the hinge's arms.
- The valve's saddles were sized for ½" threads. The valve is ¾", and it could spin.
- The little hub breadboard stood upright for no good reason.
Every fix meant reprinting the whole 200 mm base. So the rule now is: build stands as kits. A flat base plate with M3 holes on a 15 mm grid, and each precision piece (pocket, cradle, hinge) as its own small print screwed on from underneath. A wrong pocket now costs ten minutes of printing, not two hours.
v2 is that kit: ten small prints. The head sits on a stalk 14 mm clear of the hinge, and the model script checks it swings from −45° to +45° with at least 1 mm to spare at every 5°. v1 was only checked at the two ends, which is how it slipped through.
One project, several models
With v1, v2 and an enclosure on the way, one model per project stopped being enough. Bench now finds every model in a project's folder by itself (test-stand/v1, test-stand/v2, enclosure/v1) and gives the 3D view a picker. One is marked main, and that's the one on the project's thumbnail.
Compare with draws another version in faint blue over the one you're looking at. The headline picture is v2 with v1 ghosted over it: you can see at a glance how much lower v2 is, and where the head moved. Versions share coordinates, so the ghost lines up.
A print list for each model
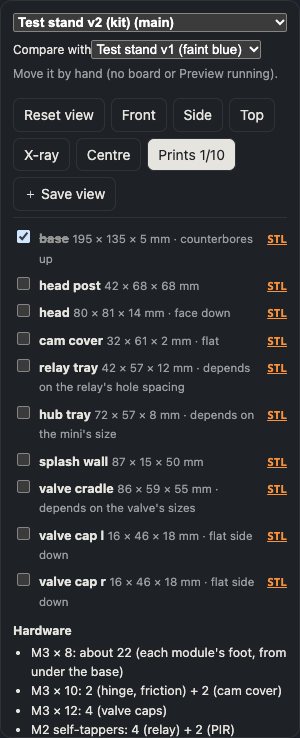
The model scripts already knew every part's size, how it should lie on the bed, and which sizes were still guesses. That used to scroll past in my terminal. Now each script writes it into the model, and Bench shows it as Prints: every part with its size and a note ("face down", "depends on the valve's sizes"), a tick box, an STL download, then the screws, then a "Still guessed: measure first" list. The button counts as you go: Prints 3/10.
Saved views
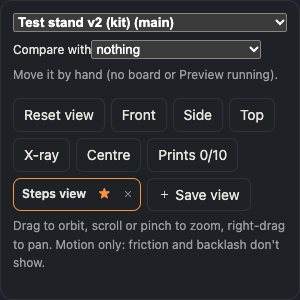
Save view keeps the camera's position and angle under a name, in the project, so the iPad and the Mac share them. The star makes one the view the 3D tab opens with.
One bug on the way: jumping to a saved view straight after dragging didn't land on it. The view keeps coasting for a moment after you let go, and the jump inherited that motion, so the camera drifted on past. Switching the coasting off for that one move fixed it.
The enclosure, first draft
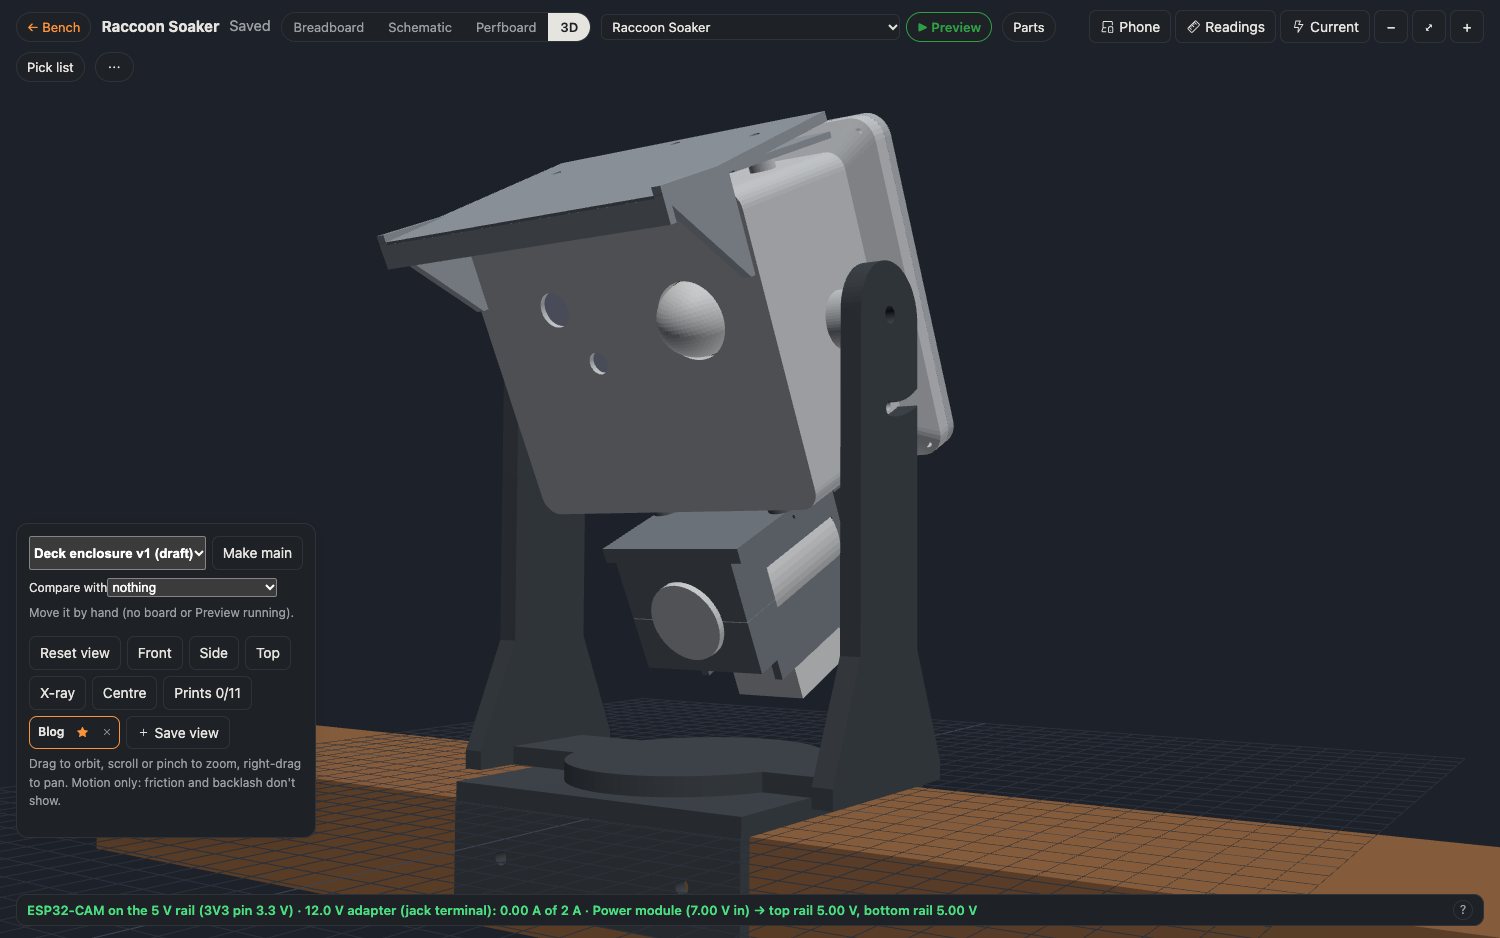
The same kit idea, for outside: a saddle that screws over the deck's top rail and turns ±45°, a yoke that tilts the box 0–45° down and locks with bolts in curved slots (so wind can't knock it off aim), and a sealed box.
For weather:
- a gasket under the back lid
- cables only from below, through glands
- acrylic windows for the camera and flash
- a rain hood with a drip edge
- a weep hole for condensation
The valve hangs under the box, pointing the same way as the camera, so the spray goes where it looks.
The model script runs a seal test: with the windows, PIR dome and glands in place, the inside must be one closed space. It is, at 605 cm³, so none of the screw holes leak. It's still a draft: it's tall, and the rail, valve and distance to the steps are all guesses until I measure.
Smaller things
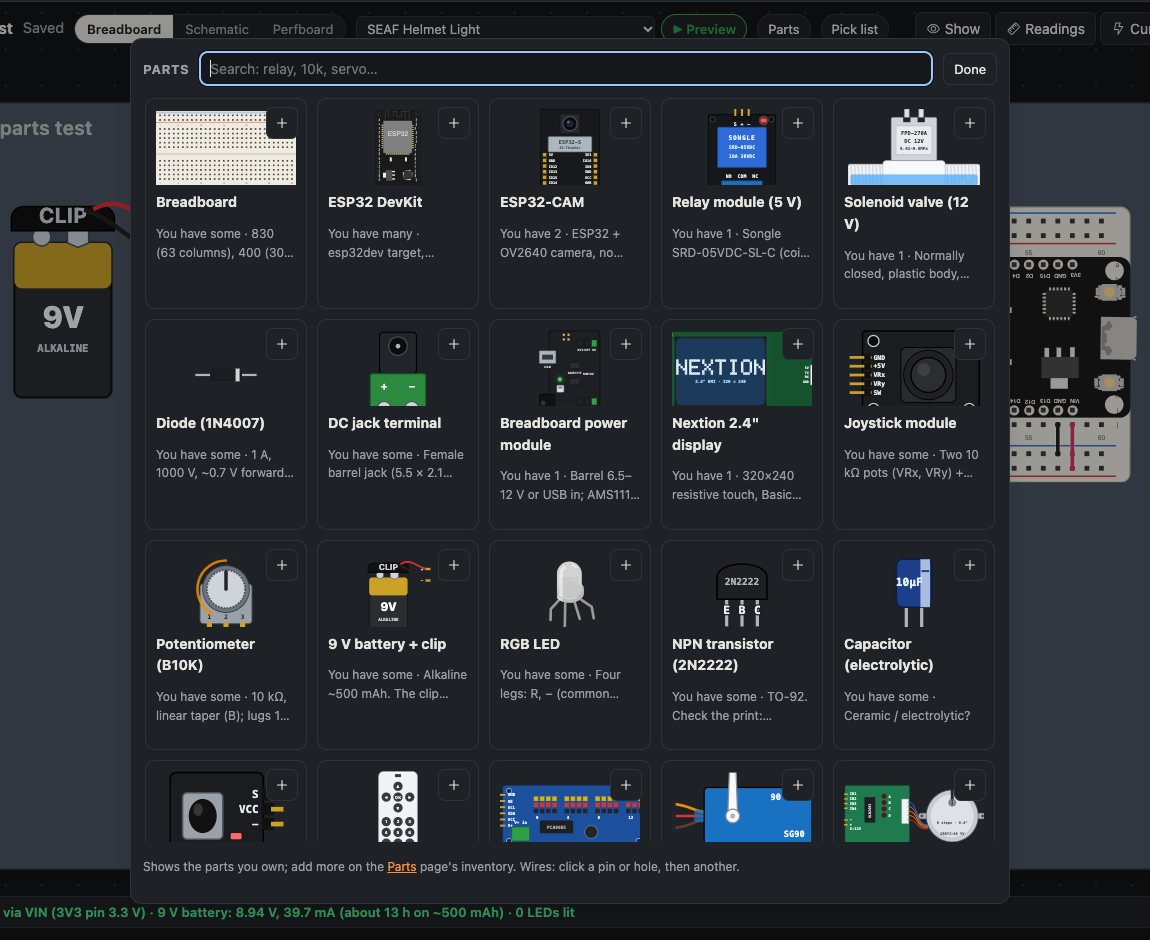
- Parts moved from a panel down the left side into a button in the top bar. It opens a searchable grid of everything I own: type "relay" and press +. The canvas got its left edge back.
- The phone app for the soaker got a proper toggle switch for its motion overlay, and toggles for flipping and mirroring the camera's picture.
What I learned
- Print, then design for the reprint. The first print always teaches you something. Split the design so the lesson costs a small part.
- Check the whole range, not the ends. v1's hinge passed at the two ends of its swing and still jammed in real life.
- Write down what you guessed. A "Still guessed" list next to the print list stops me printing the valve cradle before I've measured the valve.
- Let the tools remember. Saved views and print ticks are small, but they're what make it practical to come back to a model a week later.
Comments (0)