Before printing a whole Dig Pod, I printed the small pieces that carry the guesses: the joints, the screw holes, the press fits. All 18 coupons fit on one plate of the P1S and took under three hours. Most of them fit first time. Four didn't, and each one changed the design.
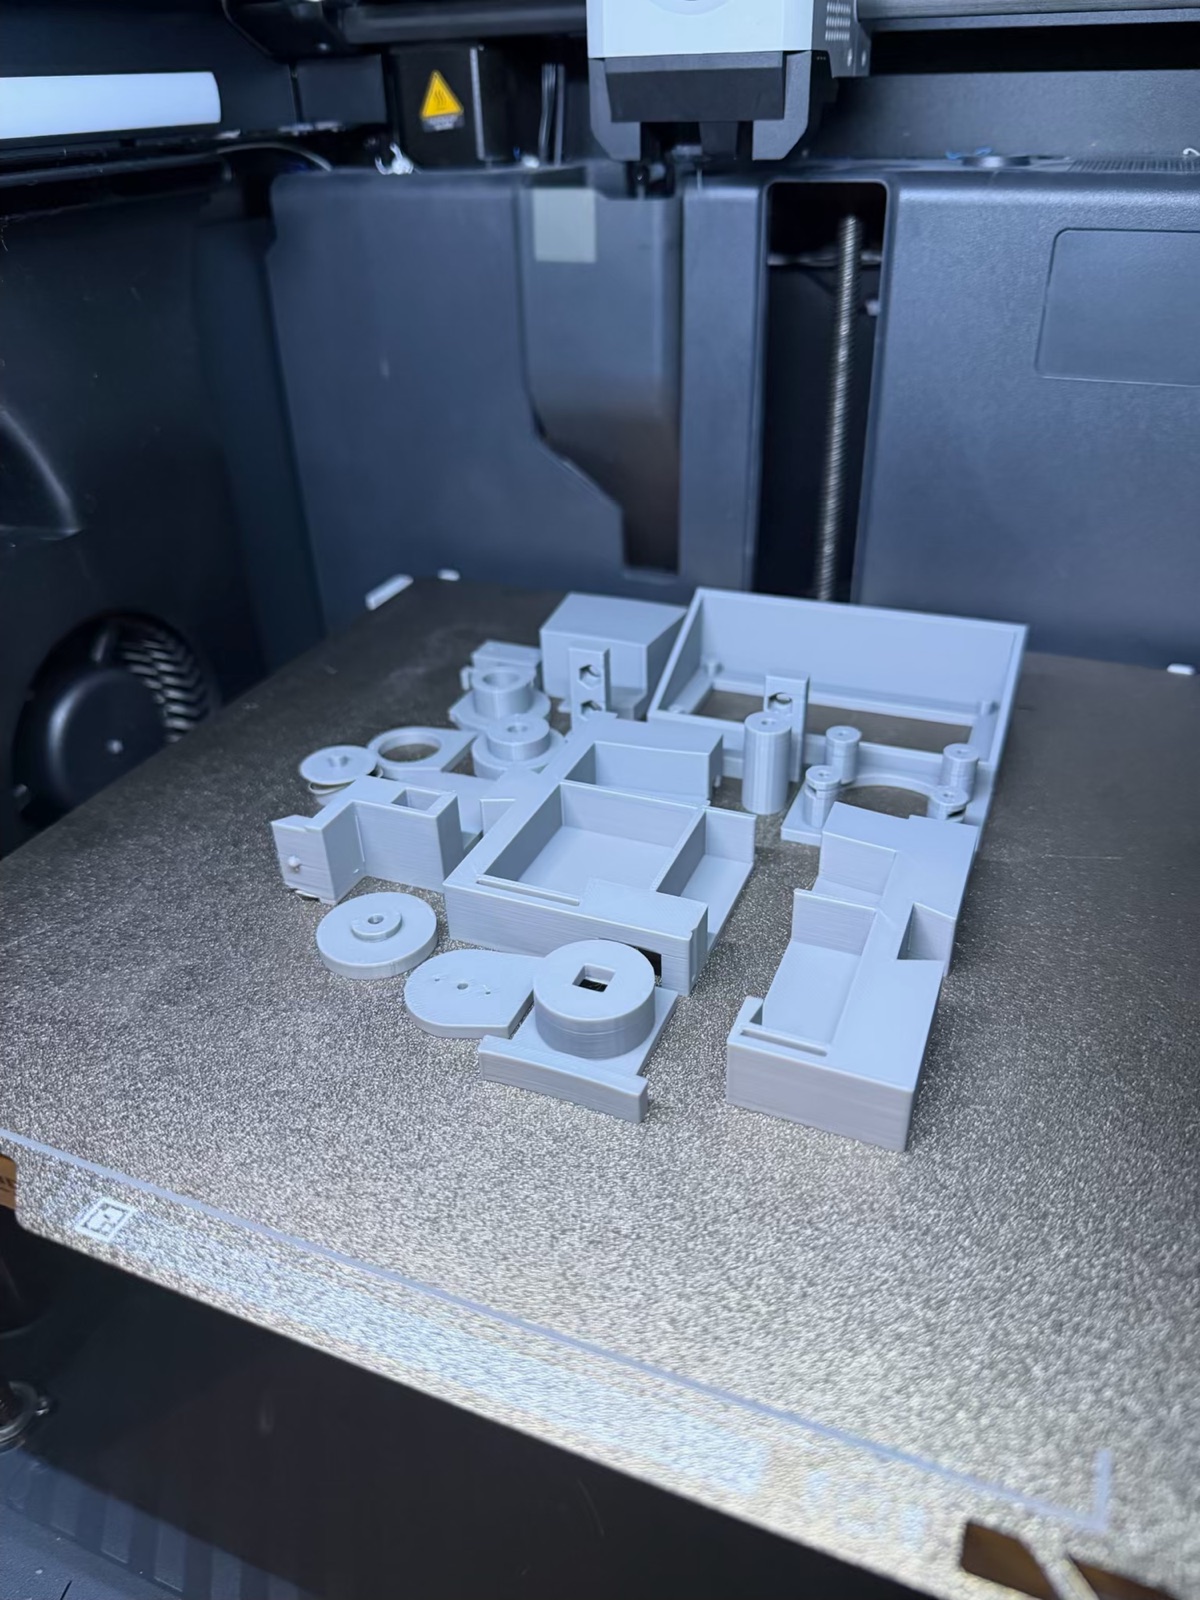
What a coupon is
Each coupon is cut from the real part by the same model code, so it has the real hole, the real slot or the real fit, without the rest of the part around it. Bench has an inspector page that shows each coupon on the bed and inside its part, what it proves, and what to measure. It now also shows how each one did:
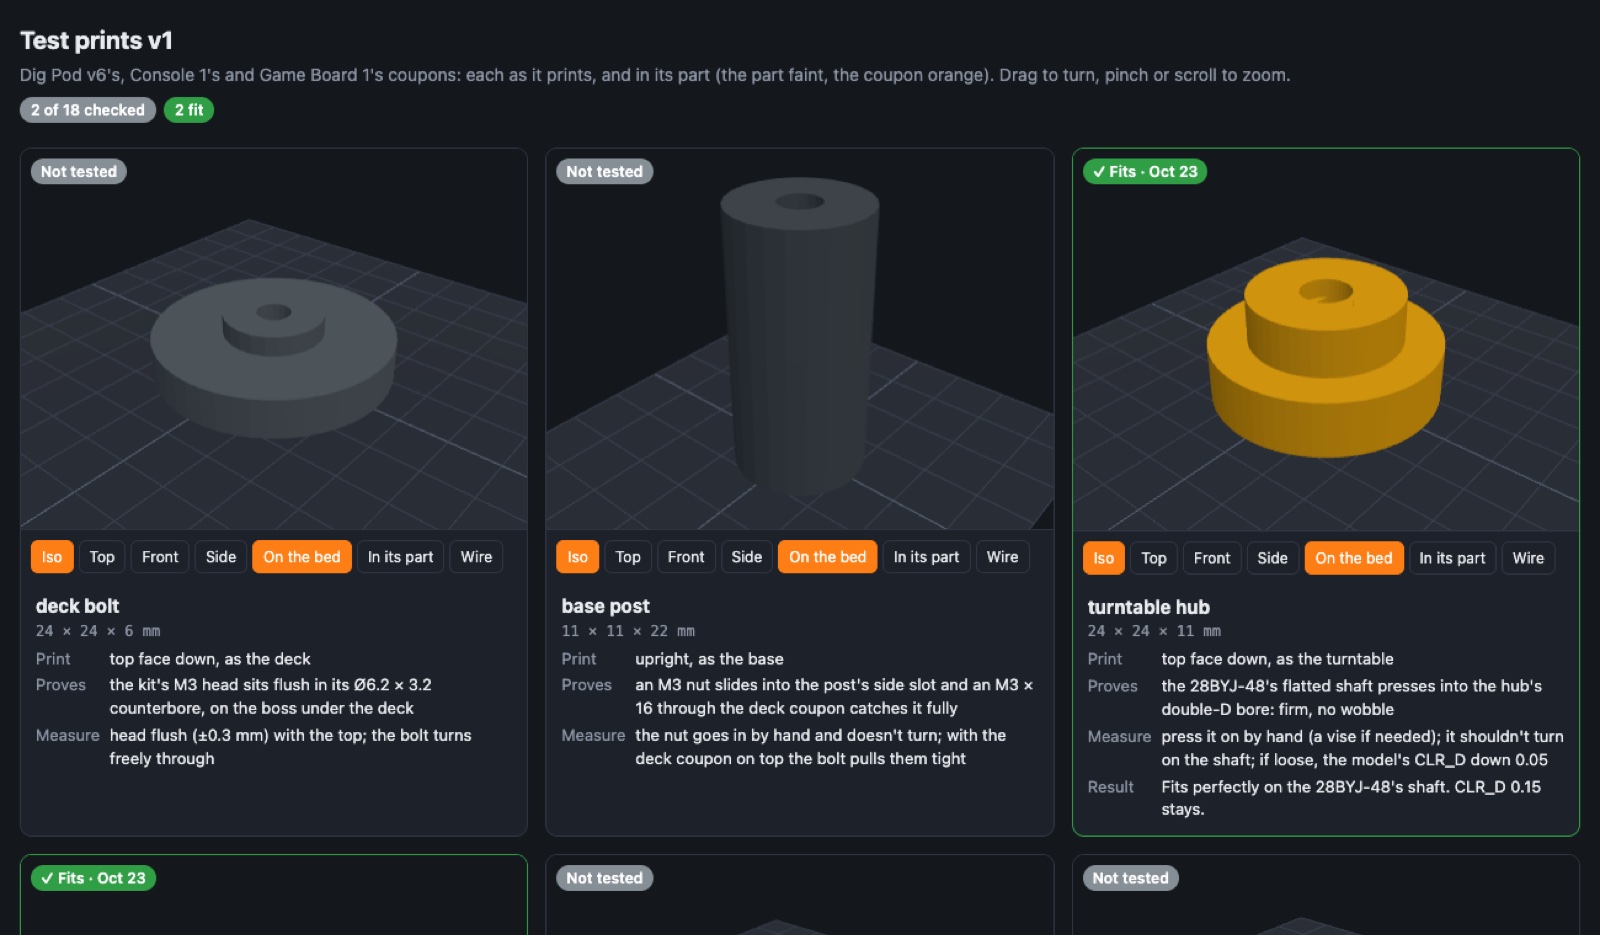
What fit first time
| Coupon | What it checks | Result |
|---|---|---|
| Turntable hub | the 28BYJ-48's flatted shaft presses into the hub | fits perfectly |
| Servo plate | the MG996R's tab holes (49.5 mm apart) | the tabs line up |
| Boom horn | the MG996R's round horn's screw holes | aligns perfectly |
| Bucket horn | the SG90's two-sided arm horn | lines up (I'll trim its arms to fit) |
| Pivot boss and cheek | the bucket turning on the stick | turns smoothly, no play |
| Deck bolt | an M3 × 16 sunk into the deck, into a nut in the post | pulls tight; a button head sits 1.5 mm down, as modelled |
What didn't, and what changed
The nut slots. The base post holds an M3 nut slid in from the side. The slot was 2.7 mm tall for a 2.4 mm nut, and its flat ceiling is a bridge that sagged a little as it printed. That was enough: the nut wouldn't go in. The fix is a slot 3.0 mm tall under a pointed 45° roof, so there's no bridge at all. I reprinted two, and both take the nut. The joystick posts had the same problem with M2 nuts, so they now use M2 × 8 self-tapping screws straight into the plastic, with no nut. Every other M3 slot in the pod went to 3.0 mm before it was ever printed.
The home switch holder. This was a 6 mm tactile button under a thin flexing leaf, pressed by a cam as the arm swings past home. The button fell out of its pocket, sank down into the slot for its legs, and the leaf couldn't reach it. Even fixed, its legs ended inside the holder, so I'd have had to solder wires to them.
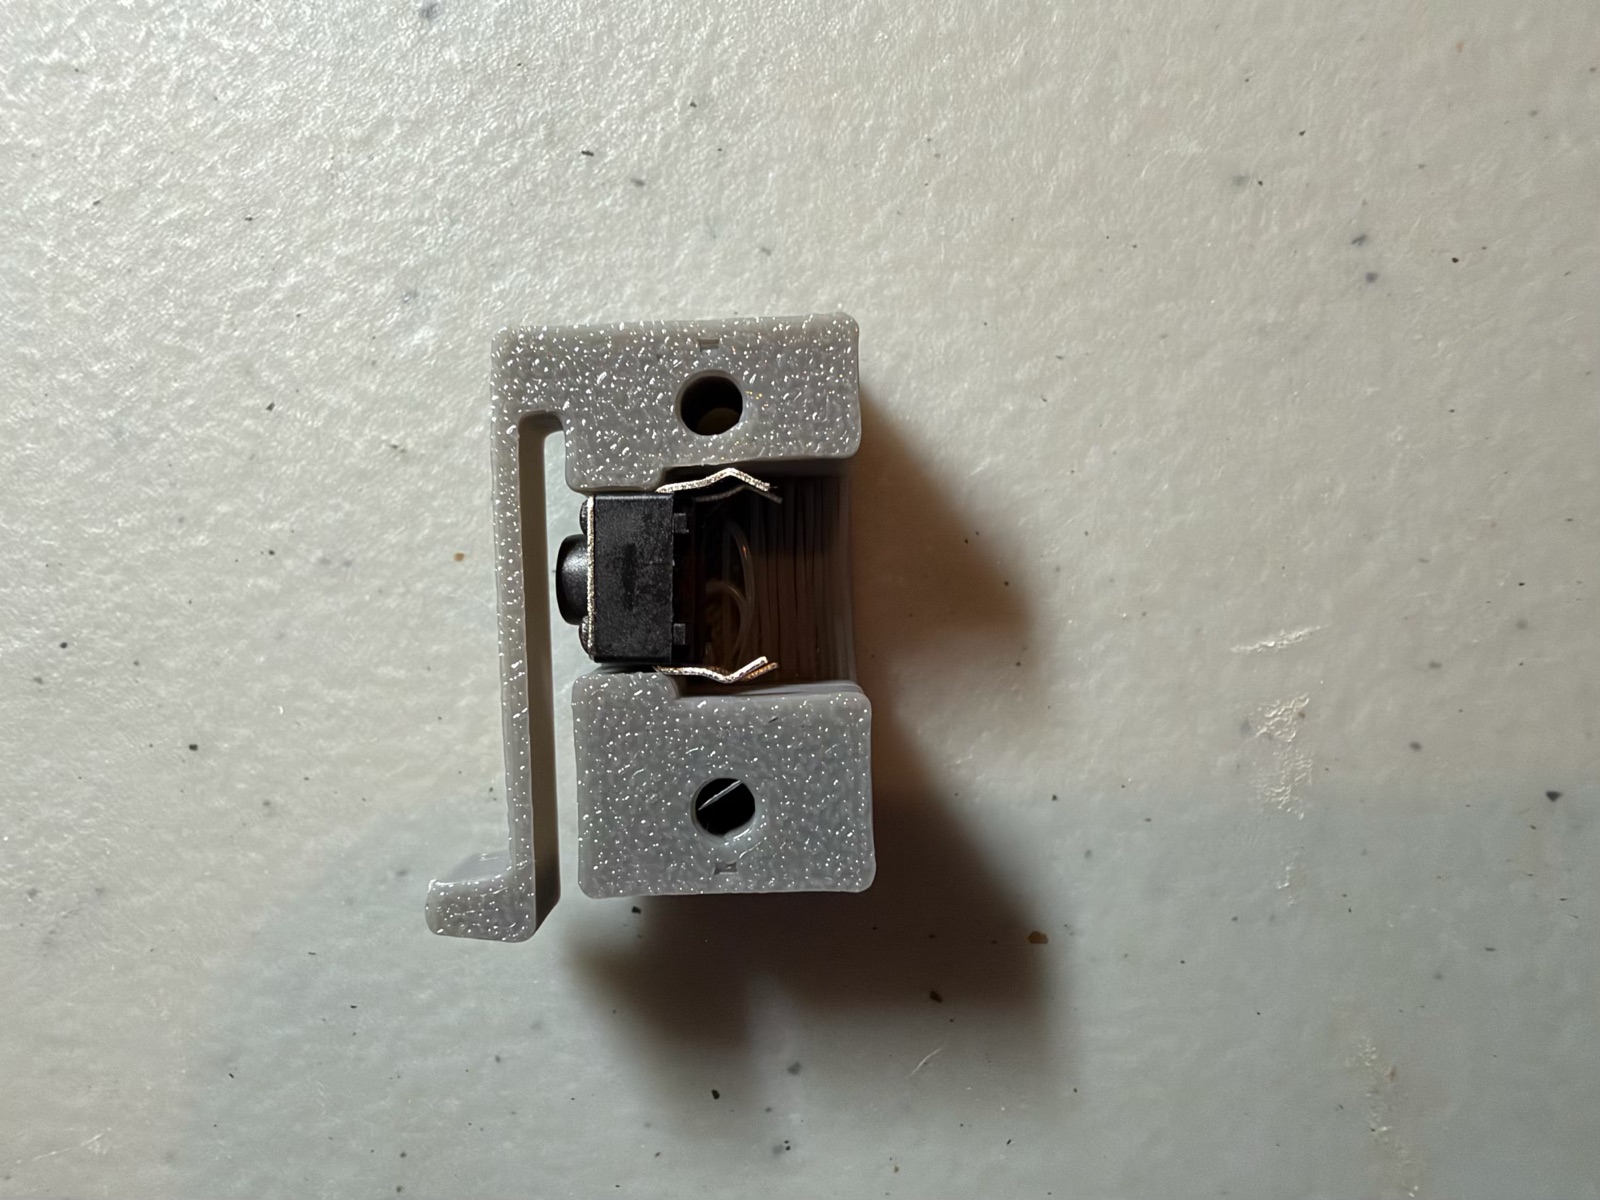
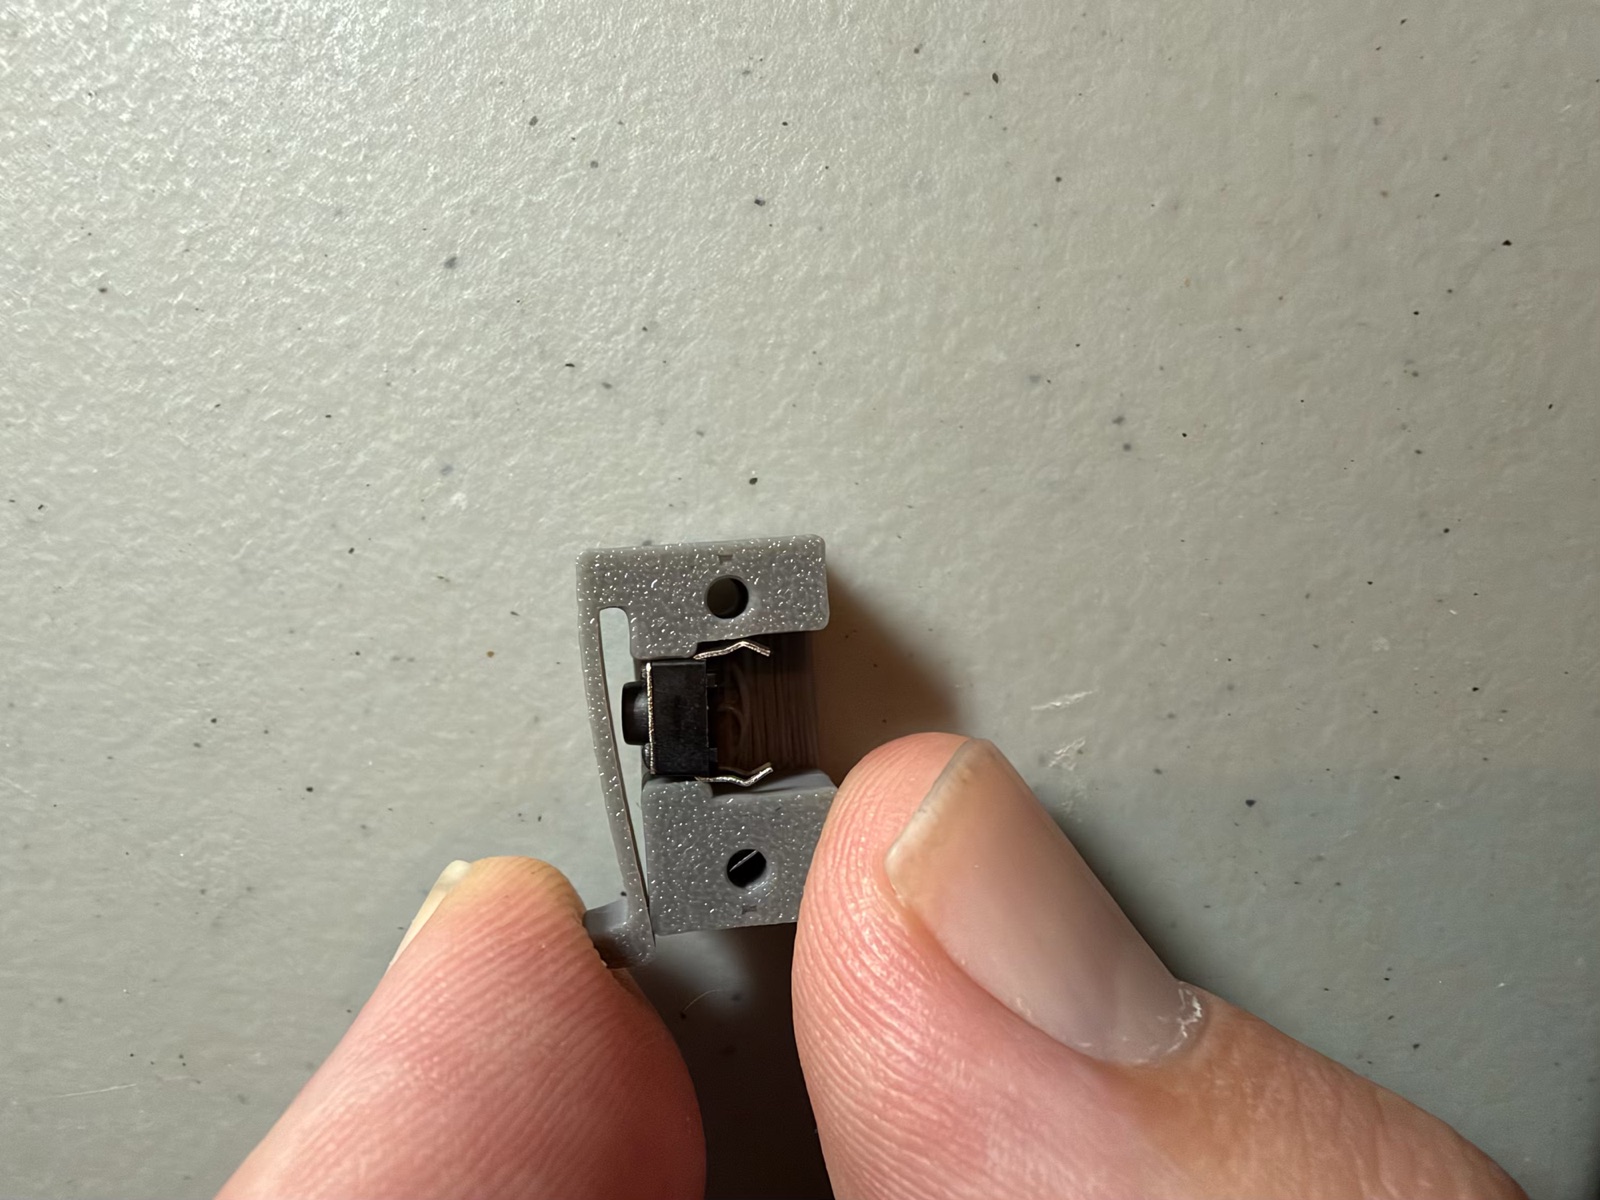
It felt like a weak point for something kids will play with, so the switch is gone. The arm's stepper motor holds its position when the power is off, so the pod now remembers the swing's angle in its memory. Once, at setup, you line up a notch on the turntable with a mark on the deck from the phone app, and tap "This is home".
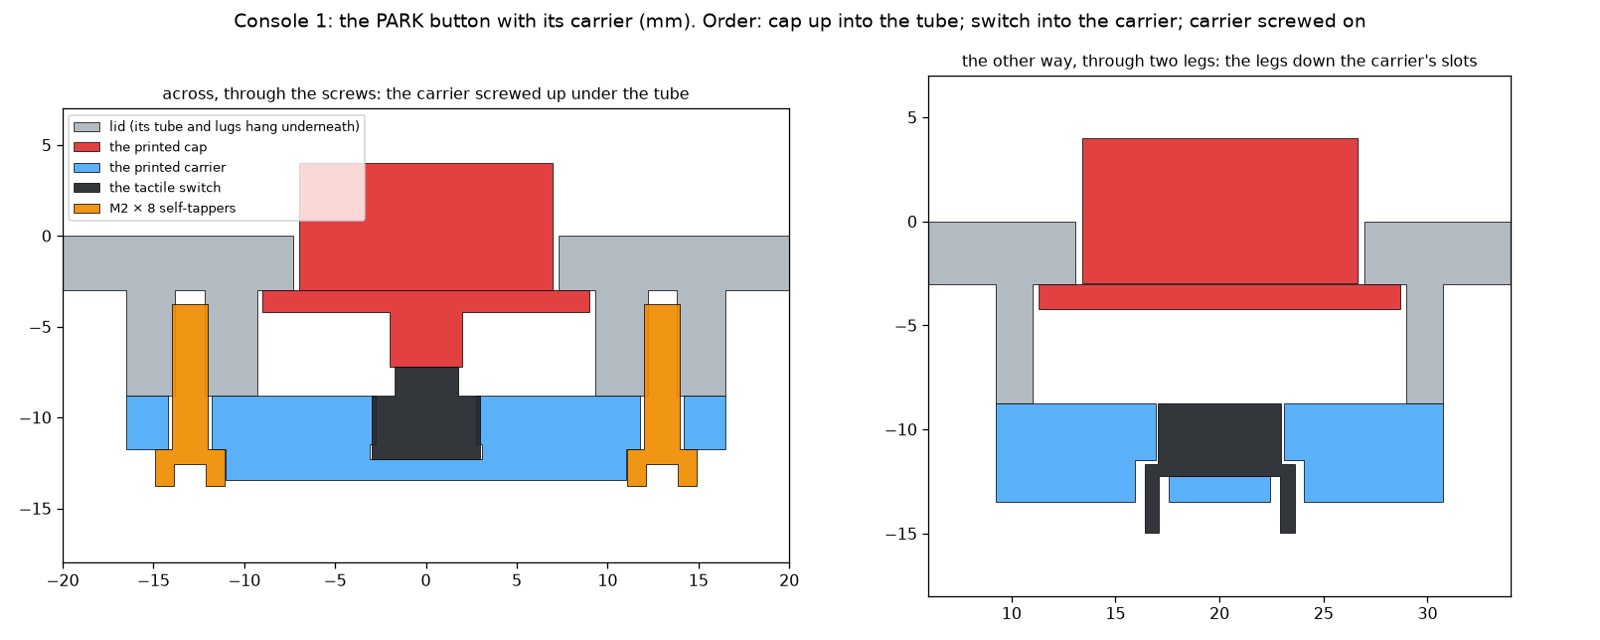
The console's buttons. The PARK and READY switches wouldn't push into their pockets, because the legs stick out about 7.2 mm across and the pocket only had room for the 6 mm body. Even fixed, nothing but glue would have held a switch in place against a press. Now each switch sits in a small printed carrier, screwed up under the button's tube, so every press lands on the carrier's screws:
What I learned
- Bridges sag, so leave room or don't bridge. A slot with 0.3 mm to spare over its nut failed. Give it 0.6 mm, or put a pointed roof over it.
- Measure the whole part, not just the body. The button's body was 5.95 mm, but with its legs it was 7.2 mm.
- Ask where the force goes. A part held in by friction or glue will work loose. A screw or a ledge takes the load.
- Name each reprint after its date and parts (
retest_2026-10-23_base_post), so the files stay a record of what was printed when. - Test prints are cheap. Each failure here cost a few grams of plastic, not a whole printed pod.
Comments (0)